Introduction
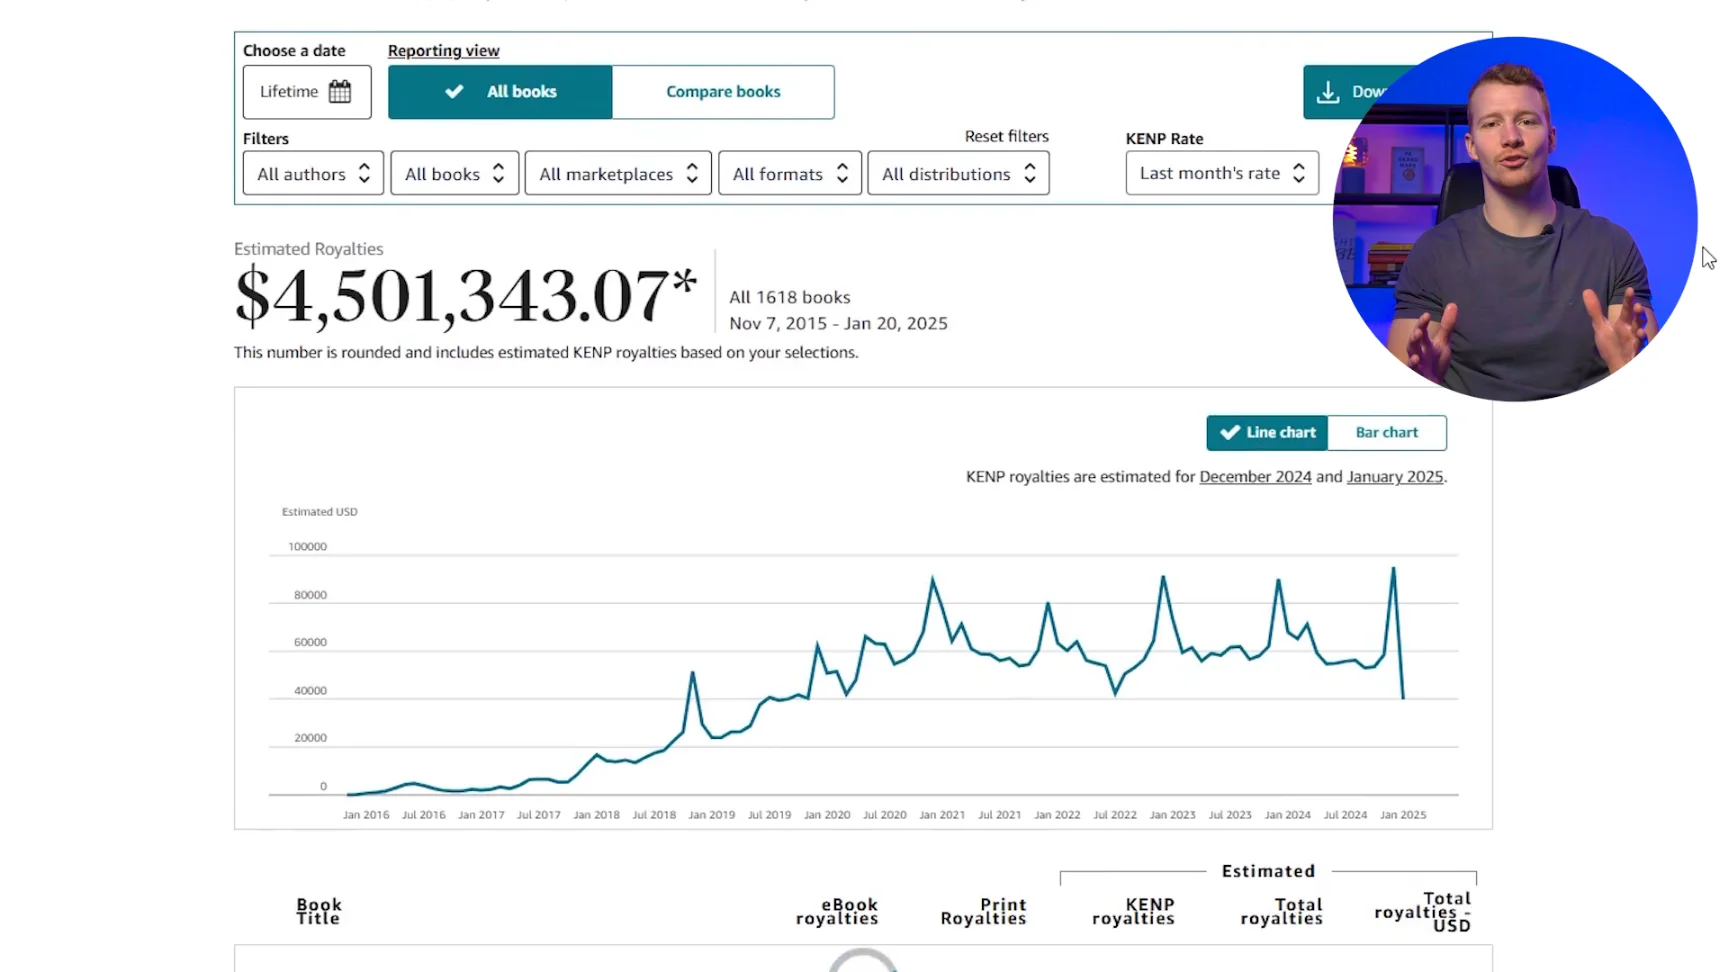
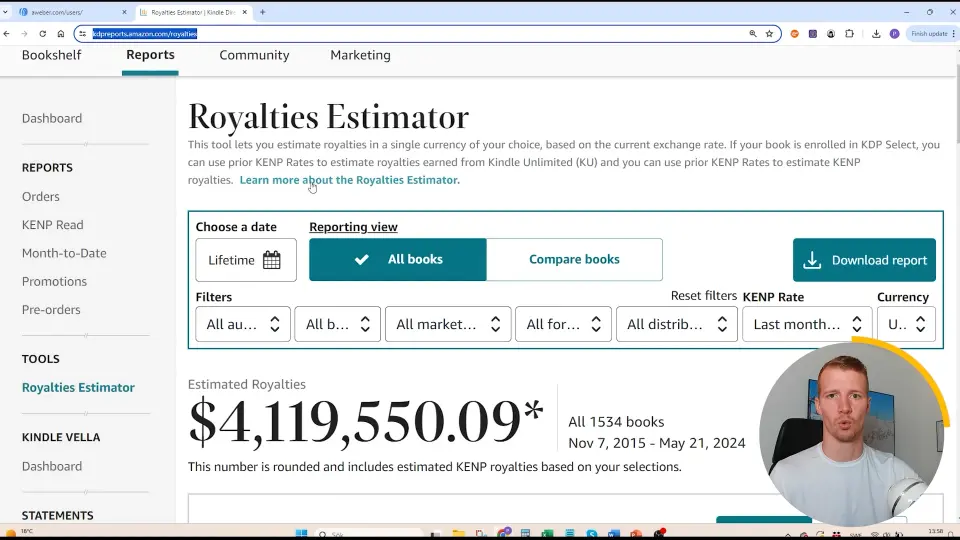
Hello, I’m Peter. With over $4M in revenue generated through Amazon KDP, I’ve had the opportunity to learn the ins and outs of self-publishing on one of the world’s largest platforms. If you’re a budding author or someone looking to self-publish a book, Amazon’s Kindle Direct Publishing (KDP) is one of the best avenues to explore. This guide will provide a detailed, step-by-step walkthrough on how to upload and publish your book on Amazon KDP, along with tips and tricks to optimize your book launch for maximum impact.
In this comprehensive guide, we’ll cover everything from setting up your Amazon KDP account to uploading your manuscript and cover, and finally, publishing your book. So, let’s dive in!
Setting Up Your Amazon KDP Account
Before you can publish your book, you need to have an Amazon KDP account. Here’s a step-by-step guide to getting started:
Step-by-Step Signup Process
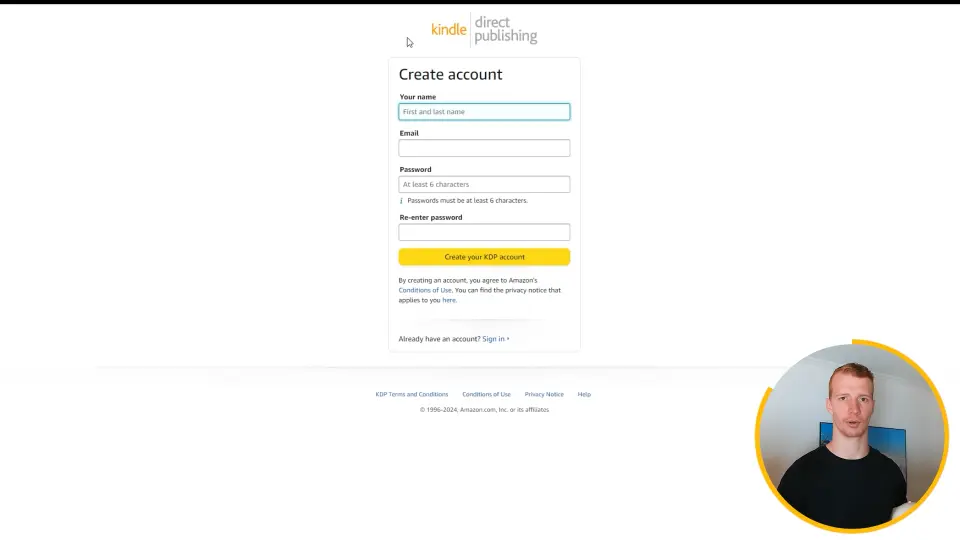
- Visit KDP Website: Go to kdp.amazon.com and click on “Sign up.”
- Create Amazon Account: If you don’t have an Amazon account, create one by following the prompts on the screen.
- Enter Personal Details: Fill in your name, email, and password.
- Verify Email: Check your email for a verification link and complete the verification process.
Filling in Personal and Tax Details
After setting up your account:
- Add Personal Information: Fill out your personal information including your address and payment details.
- Complete Tax Interview: Complete the tax interview process. This will be different based on whether you are a U.S. resident or a non-U.S. resident.
Common Issues and How to Solve Them
- Tax Interview Stuck? If you’re struggling with the tax interview, you can search for “how to do a tax interview on KDP” on Google or YouTube for detailed guidance.
Creating Your Ebook
Once your account is ready, it’s time to create your ebook. Here’s how to go about it:
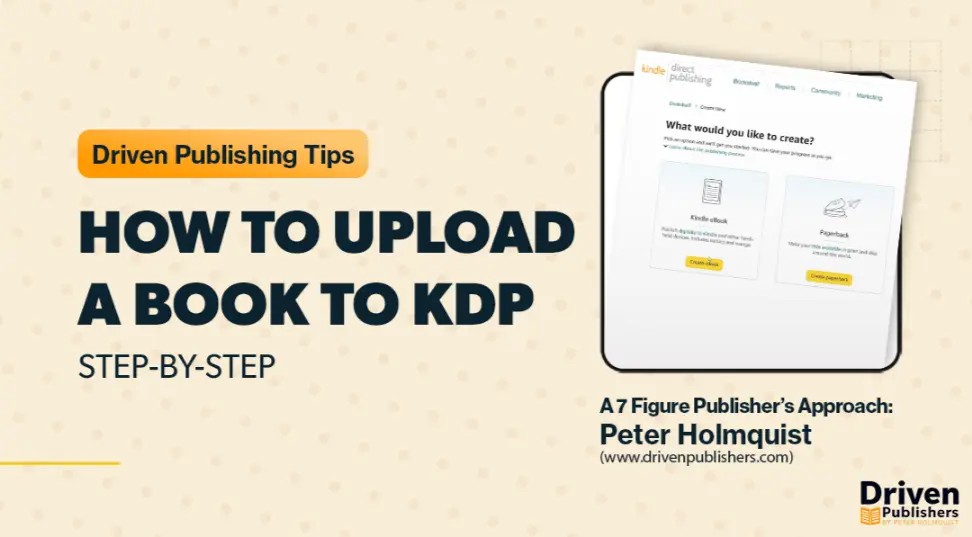
Step 1: Click on ‘Create’
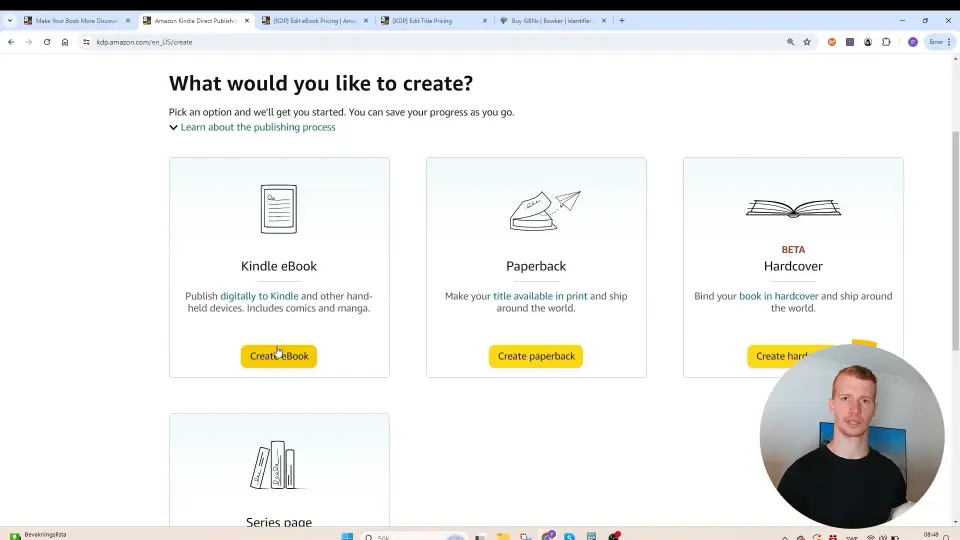
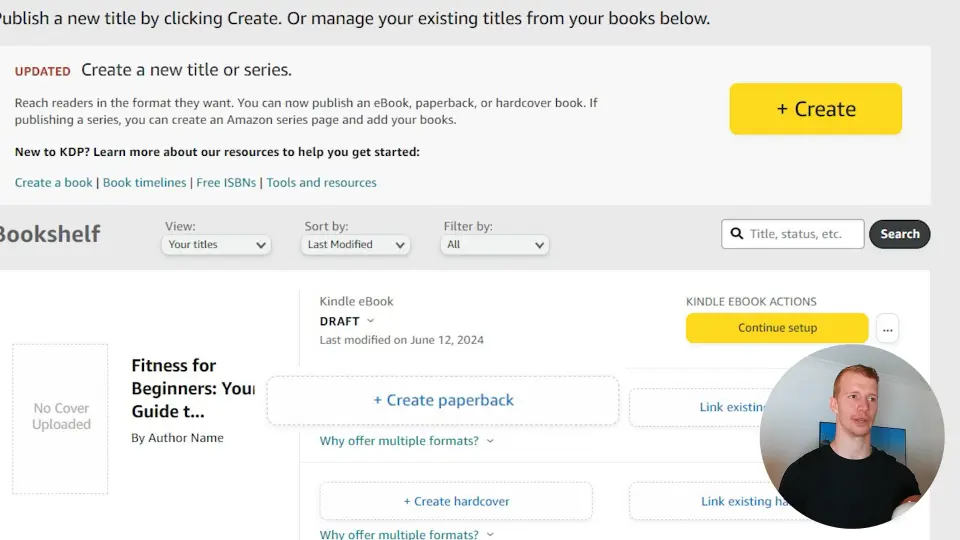
Navigate to the KDP dashboard, and click on the “Create” button.
- Choice: Ebook or Paperback? If your book is suitable for an ebook format, click on “Create Ebook.” If not, you may opt for “Create Paperback” especially if your book is a puzzle book or an activity book.
Step 2: Language Selection
Choose the language of your manuscript. For example, if your book is in English, select “English” from the dropdown menu.
Step 3: Entering Book Details
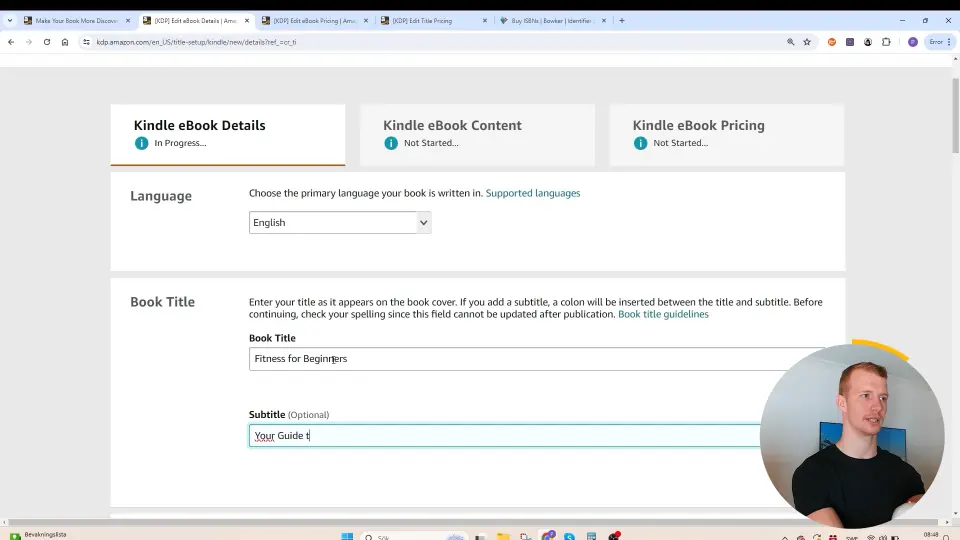
Book Title and Subtitle
- Effective Titles: Your book title should be engaging and informative. For instance, a book on fitness for beginners could be titled “Fitness for Beginners: Your Guide to Building Muscle.”
Series Information
If your book is part of a series, input the series information, including the series title and volume number.
Author Information
Ensure to enter the author’s name correctly as this will be displayed on your book’s product page.
Step 4: Book Description
Writing a compelling book description is crucial. Here are some tips:
- Engaging Headlines: Start with a catchy headline, such as “Learn How to Build Muscle.”
- Bullet Points: Highlight key points using bullet points. For example:
- Discover the five proven methods to build muscle.
- Suitable workouts for beginners.
- Nutrition tips to complement your fitness regime.
Step 5: Copyright and ISBN
- Own the Copyright: Claim you own the copyright if the work is originally yours.
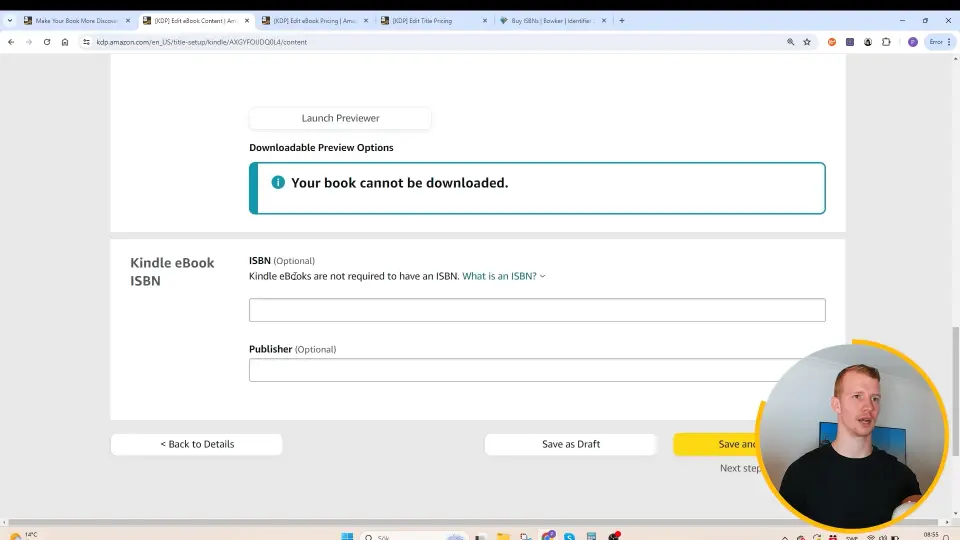
- ISBN for Ebooks: Generally, buying ISBNs is not required for ebooks, as Amazon KDP will automatically create on for you. However, if you want to buy ISBNs you can do that at Bowker.com
Step 6: Primary Marketplace
For English books, select “amazon.com” as your primary marketplace.
Step 7: Categories and Keywords
Selecting the right categories and keywords is vital for discoverability.
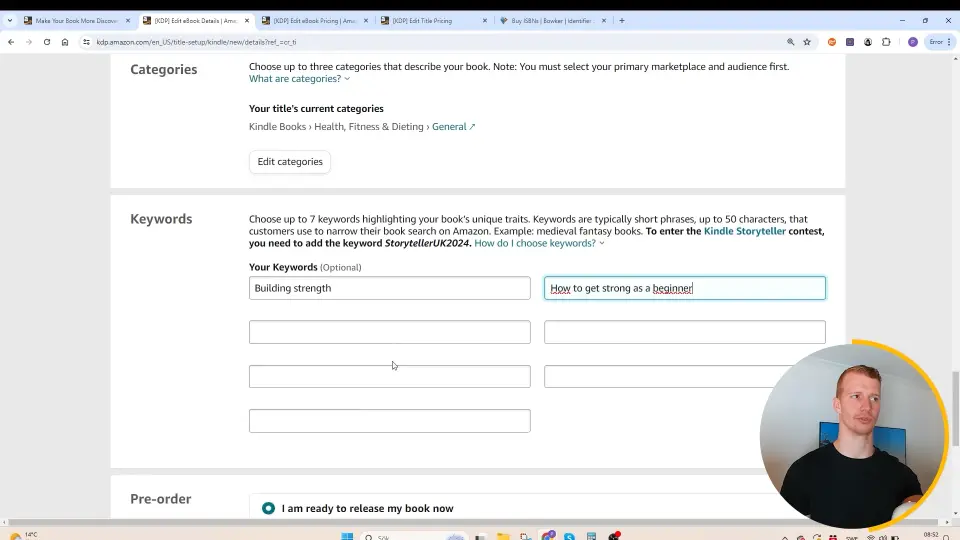
- Categories: Choose categories relevant to your book’s content. E.g., “Health & Fitness.”
- Keywords: Avoid using words already in your title or subtitle. Use the autocomplete feature on Amazon to discover relevant keywords.
| Best Practice Keywords | Avoidable Keywords |
|---|---|
| Building strength | Spelling errors |
| Fitness for beginners | Other authors’ names |
| How to get strong | Category names |
Step 8: Saving and Continuing
Click “Save and Continue” to move to the next steps.
Step 9: Pre-Order Option
You can make your book available for pre-order if you’re not ready for immediate release.
- Benefits: Allows customers to order in advance and build anticipation.
- Setting Release Date: Ensure you upload the final files before the set release date.
Uploading Your Manuscript and Cover
Step 10: Upload Your Files
- Manuscript: Upload in the appropriate format, usually a Word document or EPUB.
- Cover: Upload the cover file following Amazon’s guidelines for dimensions and quality.
Step 11: AI Content and Image Declaration
Declare if you’ve used any AI tools in creating your manuscript or images.
- Implications: If AI was used, specify to what extent and which parts.
Step 12: Finalizing and Previewing Your Book
Use the Amazon KDP preview tool to check how your book looks.
- Preview Tool: Go through each page to ensure everything appears correctly.
- Making Edits: If there are issues, go back to your manuscript file, make corrections, and re-upload.
Pricing Your Ebook
Step 13: Enroll in KDP Select (Optional)
KDP Select offers exclusive benefits.
- Benefits:
- Higher visibility through Kindle Unlimited.
- Earn more royalties from page reads.
Step 14: Set Ebook Pricing
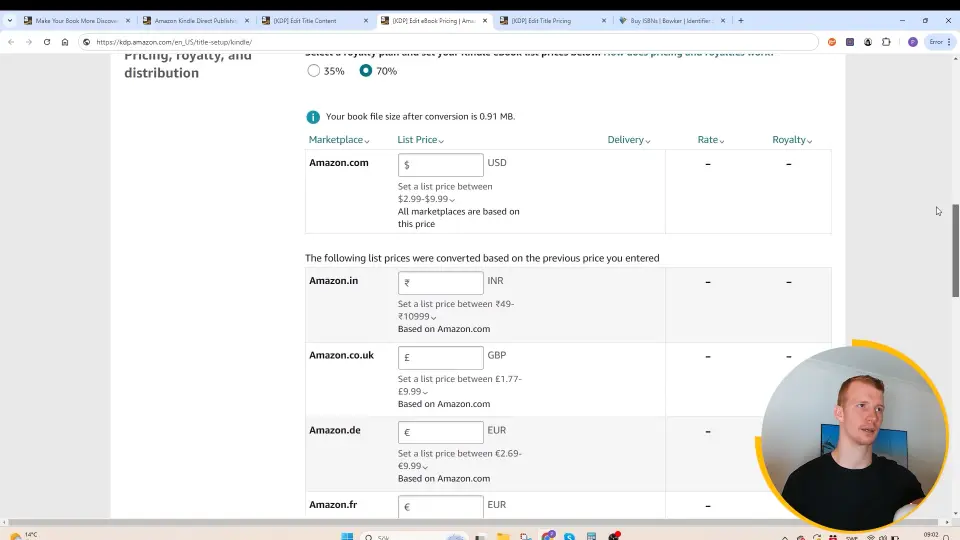
Determine the price for your ebook.
- Pricing Models:
- 70% Royalties: Price between $2.99 and $9.99.
- 35% Royalties: Price below $2.99 or above $9.99.
- Expanded Distribution: Decide if you want to distribute your book to other markets beyond Amazon.
Step 15: Publishing Your Ebook
Click “Publish Your Ebook.” Usually, it takes up to 72 hours for the book to go live but typically happens within 24 hours for established accounts.
Creating Your Paperback
Step 16: Creating Paperback Version
If you already have an ebook, click “Create Paperback” underneath the ebook title to auto-fill most details.
Step 17: ISBN for Paperback
Choose whether to get a free ISBN from KDP or purchase one.
- Buying ISBN: You can buy ISBNs from Bowker or MyIdentifiers.com.
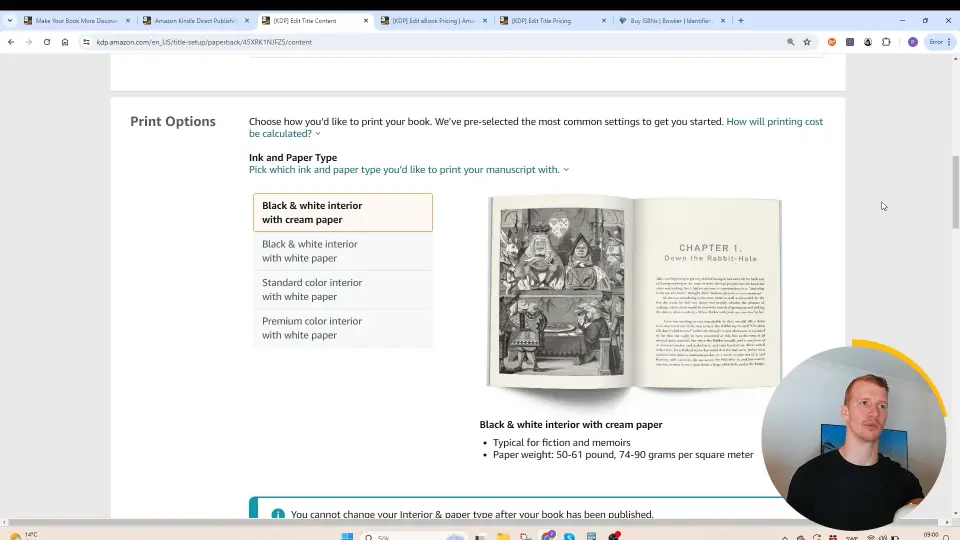
Step 18: Selecting Print Options
Choose the interior and size for your paperback.
- Print Options:
- Black and White: Suitable for text-heavy books.
- Color: Required for illustrated books or those needing color visuals.
- Size: Select a book size based on your formatting. Common sizes are 6×9 inches or 8.5×11 inches.
| Print Option | Cost Impact |
|---|---|
| Black & White | Lower cost |
| Standard Color | Moderate cost |
| Premium Color | Highest cost |
Step 19: Cover Options
Opt for either a matte or glossy finish.
Step 20: Upload and Preview
Upload your manuscript and cover, and use the preview tool to ensure everything looks perfect.
Step 21: Pricing Your Paperback
Set the list price for your paperback.
- Expanded Distribution: Opting for expanded distribution can increase reach but lower royalties.
Step 22: Finalizing and Publishing
Click “Publish Your Paperback Book.” Again, it may take up to 72 hours to go live.
Conclusion
Publishing on Amazon KDP is a straightforward process once you know the steps and best practices. With this guide, you’re equipped to launch your book effectively and reach a global audience. Don’t hesitate to ask questions or reach out to other publishers in our free self-publishing community for further advice. Happy publishing!
References and Additional Resources
By following these detailed steps and guidelines, you’ll be well on your way to a successful book launch on Amazon KDP. Best of luck!

